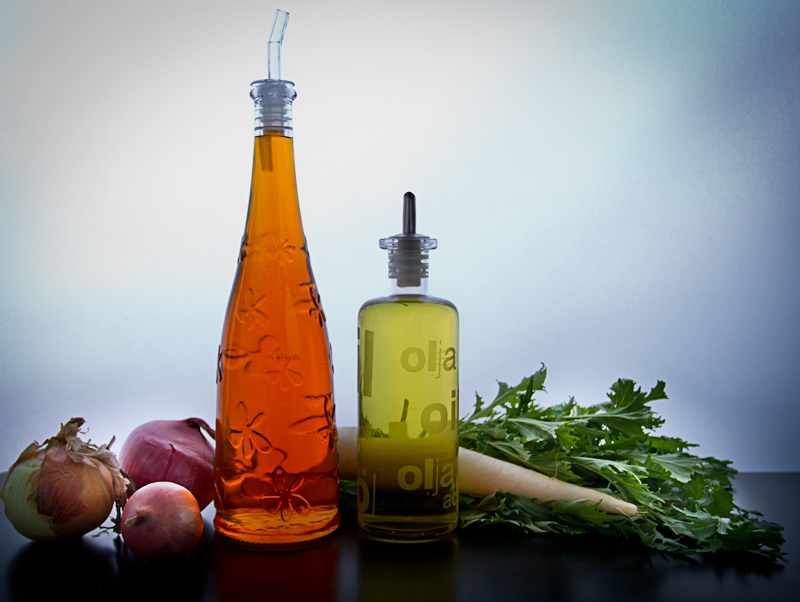
Have you ever noticed those fancy flavored oils at the grocery store? They seem like a great idea, another way to infuse extra flavor into your food. Trader Joe’s used to make an amazing chili oil that I loved, but then they discontinued it and I was so bummed. Then I found that my local CostCo had introduced a delicious garlic oil…that cost $12 per Liter, yikes. It also seems to have been discontinued.
But there is really no need to go on a big hunt or spend a lot of money on delicious flavored oil. I know I’ve mentioned garlic oil in a few other posts, but it is really really ridiculously easy to make your own. It is cheap to make, and YOU control the quality of the ingredients.
I love home made flavored oil and use it as a base for building all kinds of flavorful meals. Here are a few ideas:
- Use it to make popcorn

- Brush it on pizza crusts before topping and baking
- Dip crusty rustic bread into it
- Start your soups and stir fries with it
- Put it in your pan for grilled cheese, instead of buttery stick
- Make a spicy salad dressing
- Use it anywhere you would use oil or fat, to add a little extra kick
This stuff is so good, that I plan to get some cute little bottles and give it away as gifts at holiday time, along with some recipes. I will probably make two versions, one that is just garlic and one that is just chili. But the recipe I’m giving you here covers both. If you just want garlic oil, leave out the crushed chilis and vice versa.
So try it and let me know what you think. You can try this method with other aromatics too, I think cinnamon and cloves would be a fun combination, useful for sweets and Lebanese or Moroccan dishes. What else would you try? What would you use it for?
Chili Garlic Oil
Ingredients
- 1/4 to 1/3 cup crushed red pepper, depending on your tolerance for heat (I like to use the really spicy kind)
- 12 cloves (about one bulb) garlic, chopped or pressed
- 4 cups olive oil (suitable for sauteeing or frying, NOT extra virgin), or canola, or other relatively flavorless oil
Method
Put chilis, oil, and garlic into a deep sautee pan and place over low heat.
Note: DO NOT be tempted put the spurs to the heat in order to speed up the process; trust me, you will burn the garlic and the chilis and that will make you a very sad panda.
On my stove, I set the heat to 3 (out of 10), then when the garlic starts to sizzle a little, I turn it down to 1. It takes about 10 minutes to get to the sizzly-garlic stage, but this may vary depending on the quantity of oil you are preparing and the power of your cooktop. Once you have sizzly-garlic, let the oil sit over low heat for about 15 minutes, then kill the heat.
Let the oil cool for about an hour before handling. Seriously, don’t try to strain boiling hot oil.
Strain the oil through a fine mesh sieve into a clean container. Discard solids into the trash can (your kitchen plumbing doesn’t want all that oily goop). Strain a second time through a paper towel (see photo above) or coffee filter to clarify and catch all the tiny pieces that slipped through the first time.
Note: Don’t try to skip the first straining, if you go straight to the paper towel it will take a very long time. Also, it is important to strain the second time in order to remove all the garlic for food safety reasons.
Store in a clean, closed container at room temperature for a few weeks…maybe longer, I don’t know exactly because we go through this stuff pretty fast. If it develops any off odors, gets cloudy, grows anything funky, or talks sass to you, discard.


